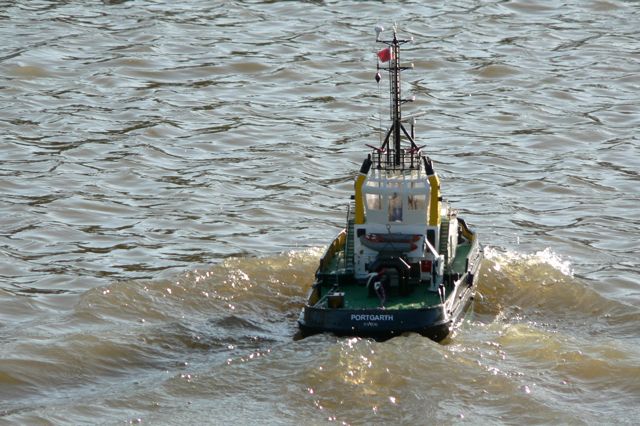
Portgarth (02)
<--Previous
Index Page
Next-->
Portgarth; Photo © Peter Taylor (2007)