
|
|
|
|
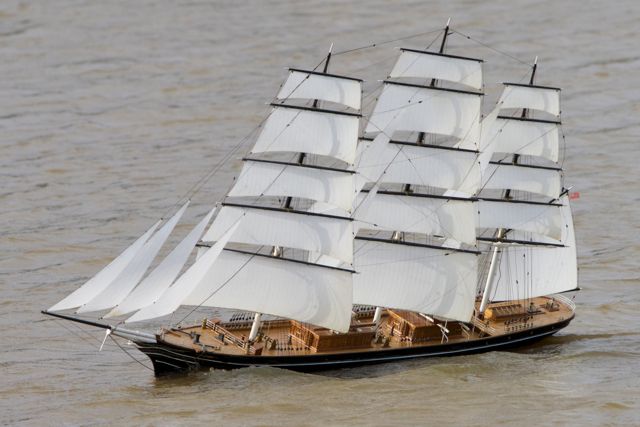
Square-Rigged Sail ControlThe following article is David Edwards' description of the sail control sytem that he has used on his models of square-rigged sailing vessels such as the "Salamis (pictured left). (The model photos below, in order, show the "Thermopylae", the "Bankburn", and the "Salamis", the latter in heavy weather!) 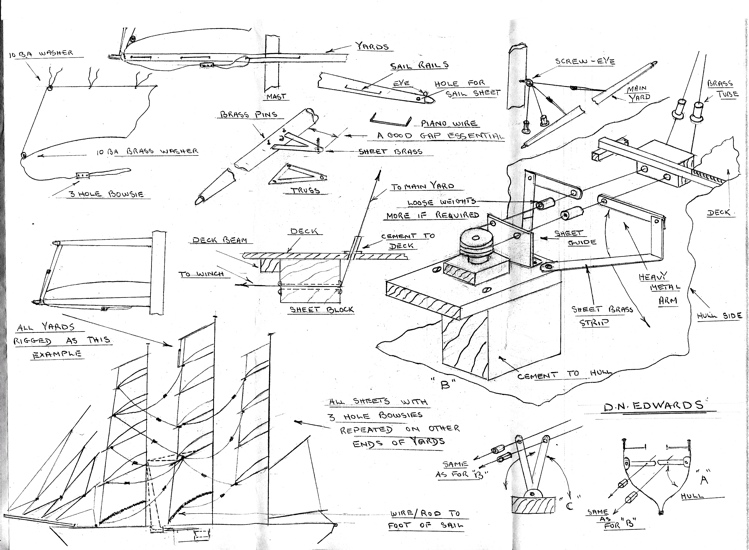
The drawings (right, click to enlarge) show my sail control system. I can say with hand on heart that it has not failed me yet! My 'THERMOPYLAE' is now 28 years old and I've sailed her well over 150 times. System "A" is the set up in THERMOPYLAE and was my first square-rigger - 52" water line, 9 1/2" beam, 34 Ibs with detachable keel, two channel radio. I connected the arm links to the sides of the hull, but on reflection I wish I'd thought of system "B" as I have no access to the links if anything should go wrong. I have fitted system "B" in three other models: "SALAMIS" and "HALOWEEN", both tea clippers, and a three masted barque, "BANKBURN". I'm fitting system "C" in a smaller model, "LIGHTNING"; 36" WL, 6" beam. But all follow the same layout as "B" except for the arms. The arms work by gravity, lifting and falling, taking up the slack from the winch drum. Loose weights fixed as shown help the system as they will slide up and down giving extra weight to arms. The position of the arms shown in the drawing would be when the yards are in the square position. 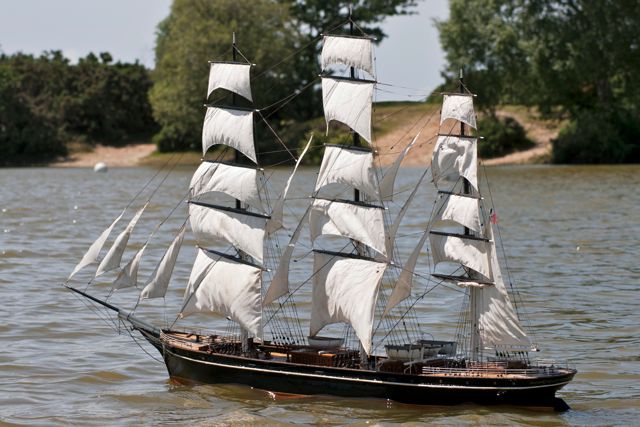
The "wooden sheet block" is fitted with eyelets to allow smooth operation and must be fixed to a deck beam. Good planning of hatch location is very important to enable all of the unit to be housed. The sheet blocks once fixed and covered by deck can not be accessed so the sheet holes must be smooth to allow free operation both in block and arms. I've drawn the sheeting system for the control of all three masts. My system relies on one "SLAVE YARD" i.e. main yard. This yard controls all the other yards. By adjusting the three hole bowsies you can get the required setting of yards. A good tip is to set up your model with yard disconnected from winch sheet and move the yard back and forth, attaching sheets at various points on yards to get the best results. The jibs and spanker are set up for close-haul; no adjustment - a permanent set up. 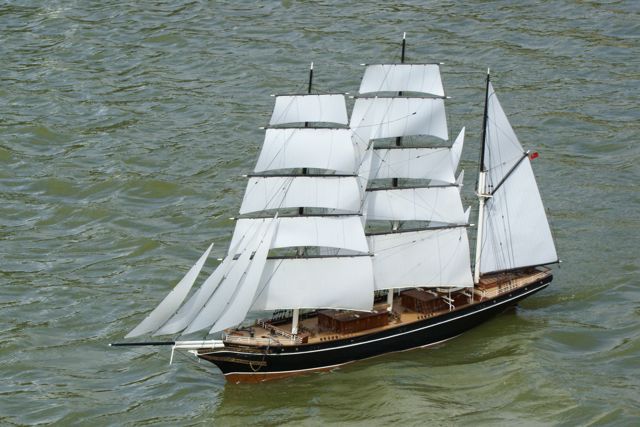
My rudder control is a basic servo system, as used in most model yachts, i.e. tiller arm and rod linkage. A large rudder is essential, once the model is in the water it is unseen, so go with a very large rudder, you can always cut it down. Now we come to the most important point in getting a square rigger to sail well. You must ensure that the lower yards, in fact all yards, are able to lie as flat as possible to the masts. This can be achieved by cheating a little from the original scale. By increasing the distance the trusses extend from the mast, the distance of the yards from the mast will also be increased. My models all sail very close to the wind because my yards are pulled very flat and I have a drop-keel with 28 Ibs on it. You will not enjoy sailing a square-rigger if you are just driven down-wind. You can watch "Salamis" sailing on Setley Pond in this movie. 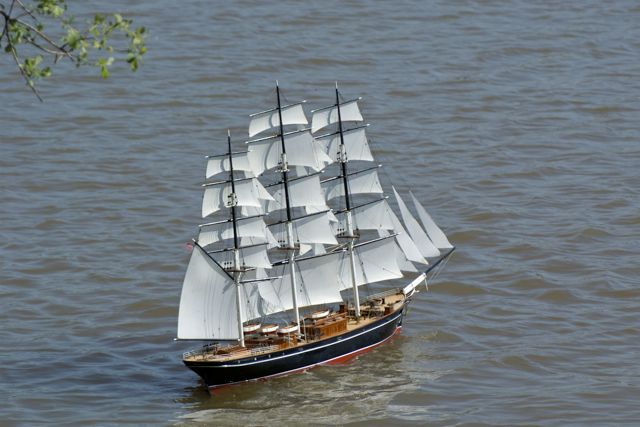
I sail all my models in very strong wind and very often am the last off the pond. I can say it's worth all the effort to build a square-rigger when you see your model beating to windward, especially in a strong wind. In heavy weather, I don't tack; I "wear ship" - that is, sail in a figure of 8, this is less dangerous to rigging. 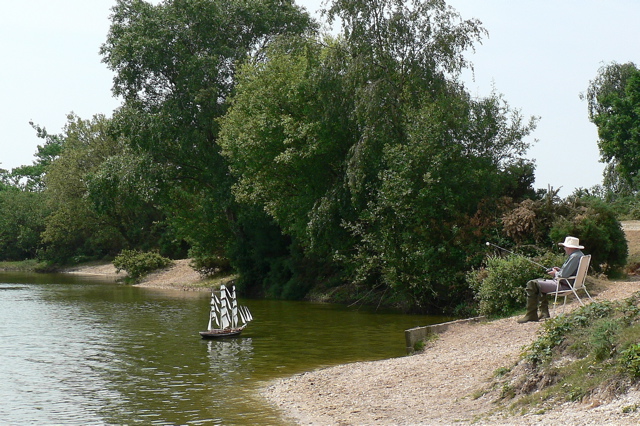
My sails on my last three models are of modem materials, scraps begged from a local sail-maker. In fact, used for round-the-world racers. This cloth is less work, no hemming required, washers can be super-glued to comers and they retain a nice curve when the model is off the pond. The foot of the sails on the main course and fore course has a wire/metal rod fixed to it. This ensures good control when sailing. I furl the mizzen course (crow jack) as sheets can become tangled with ships' boats, but I'm sure that with some thought this could be overcome. I hope these tips will help anybody who is thinking of building a square-rigger. Well worth the effort. |
